Key Takeaways
- Priming a coil is part of the process of preparing it to be used for the first time. Failing to properly prime a vape coil will often lead to a bad-tasting vape experience and potentially result in it being ruined and unusable.
- The process of priming your vape coil isn’t complicated, but it should be completed as a step-by-step process. Trying to skip steps, such as turning off your vape, could result in you accidentally ruining the coil.
- A key part of priming a coil is dripping e-liquid onto the wicking material you can see in the small inlets on the side. Making sure all of these holes are moistened with your vape juice is the very least you should do.
- Ensuring your coil is primed correctly requires a wait of just 2-5 minutes for the e-liquid to soak into the wicking material. You can speed up the process slightly by drawing on the vape a few times before turning it on.
Knowing how to prime a coil properly can be the difference between a great vaping experience and a terrible one. Too often, beginner vapers purchase their first device, fill the tank, and take a draw immediately.
If you do this you’re going to end up regretting it. You’ll probably wind up with a burnt coil, and a terrible taste in your mouth. At the very least, you won’t get the optimal flavor or vapor that you should. That’s why today, we’re going to guide you through the process of priming a coil properly so that you can get the most out of your device.
How to Prime a Coil Properly

To properly prime your coil you’re going to need your tank, your atomizer head (coil), and your eliquid of choice. It’s important to prime your coil so that you don’t get any dry hits, or end up burning your cotton. Once you’ve burnt the cotton in your coil you’re going to get that burnt, nasty taste every time that you take a draw. This means that you’ll have to throw the coil out, and seeing as prebuilt atomizers aren’t exactly cheap, knowing how to prime a coil is essential.

To begin, you’ll want to make sure that your device is off. You don’t want to accidentally burn your coil before you’ve primed it. Next, screw your new atomizer/coil onto your device. This is so that you don’t get juice all over your hands while priming it. If you can’t access your coil when it’s installed, you’ll just have to be very careful handling it as you prime it.
You don’t have to do this next step, but it is highly recommended. We’ve found that you get the best results when you poke some small holes in the cotton of the coil. Take a clean safety pin or similar, and poke a few holes through the cotton. This will allow the eliquid to absorb more deeply into the cotton.
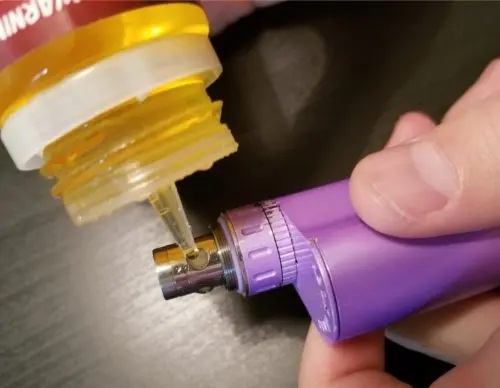
Now, take your preferred bottle of eliquid and start dripping some ejuice into the holes on the sides of your coil. There may be 2 or more, and you’ll notice that the juice is quickly absorbed by the cotton. You’ll want to make sure that you keep dripping liquid into these holes until it stops absorbing it.

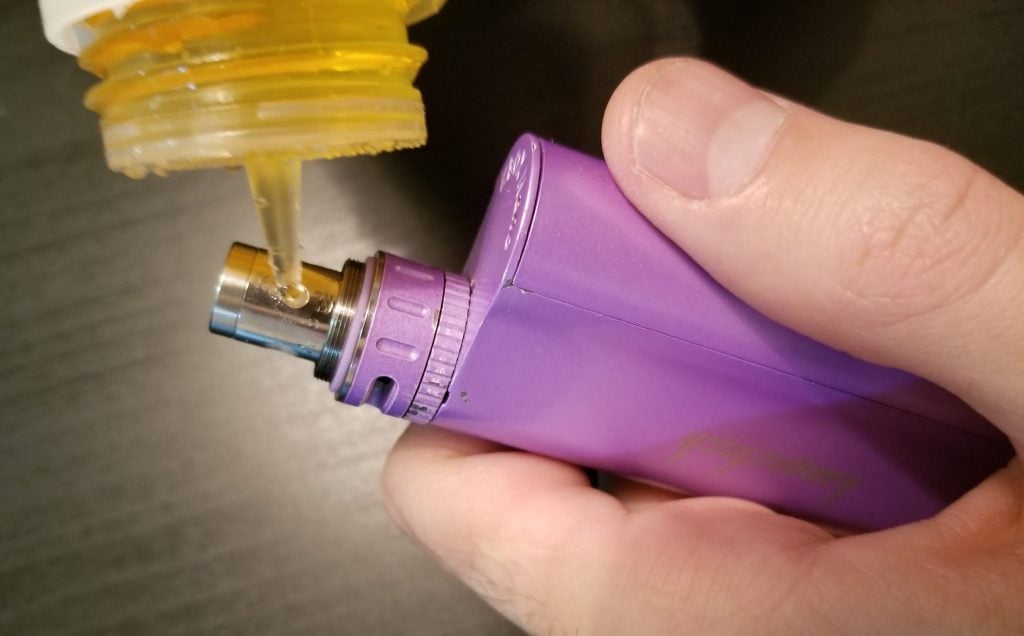
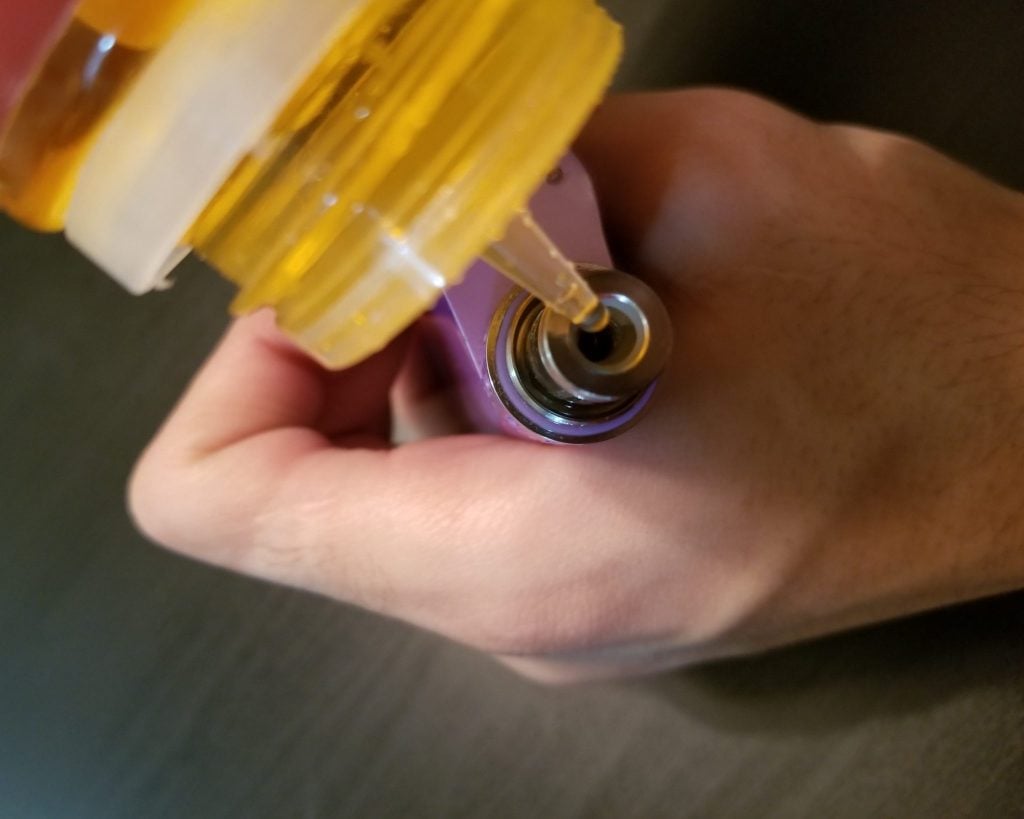
Once you’ve done this with all of the holes on the sides of your coil, you’ll also want to drip some juice directly into the top hole. Do this on an angle though, so that the cotton on the inner wall absorbs the eliquid.
Once your coil is well primed and saturated the next step is to fully install your coil into your tank, and take a couple of dry pulls. Dry pulls are when you take pulls, but with your device off and your airflow open. Take a couple of dry pulls but don’t inhale too hard. Just inhale as if you’re taking a normal draw.
For best results, wait at least 2-5 minutes with your coil and tank fully assembled before vaping. If you’ve followed all of the above steps correctly, you’re good to go! Congratulations, you just learned how to prime your coil properly. Now, shouldn’t you make sure that all of your friends know how too?








Add comment